How to Prune a Tree: Step-by-Step Instructions
Step 1: Inspect the Tree
Before starting to prune, take a few moments to carefully inspect the tree. Identify any dead, diseased, or damaged branches that need to be removed. Also, look for any branches that are crossing or rubbing against each other, as these can cause wounds that may invite pests or disease.
Step 2: Plan Your Cuts
- Cut Dead or Diseased Branches First: Start by cutting any dead or diseased branches, as these can affect the overall health of the tree. Be sure to make your cuts to healthy tissue to prevent spreading disease.
- Remove Any Crossing Branches: If you notice branches that are crossing or rubbing against each other, remove the weaker or less healthy branch to allow the others to grow freely.
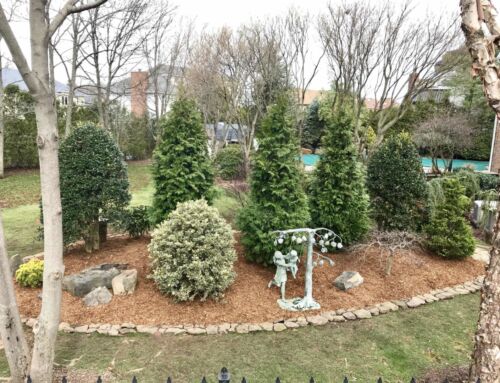
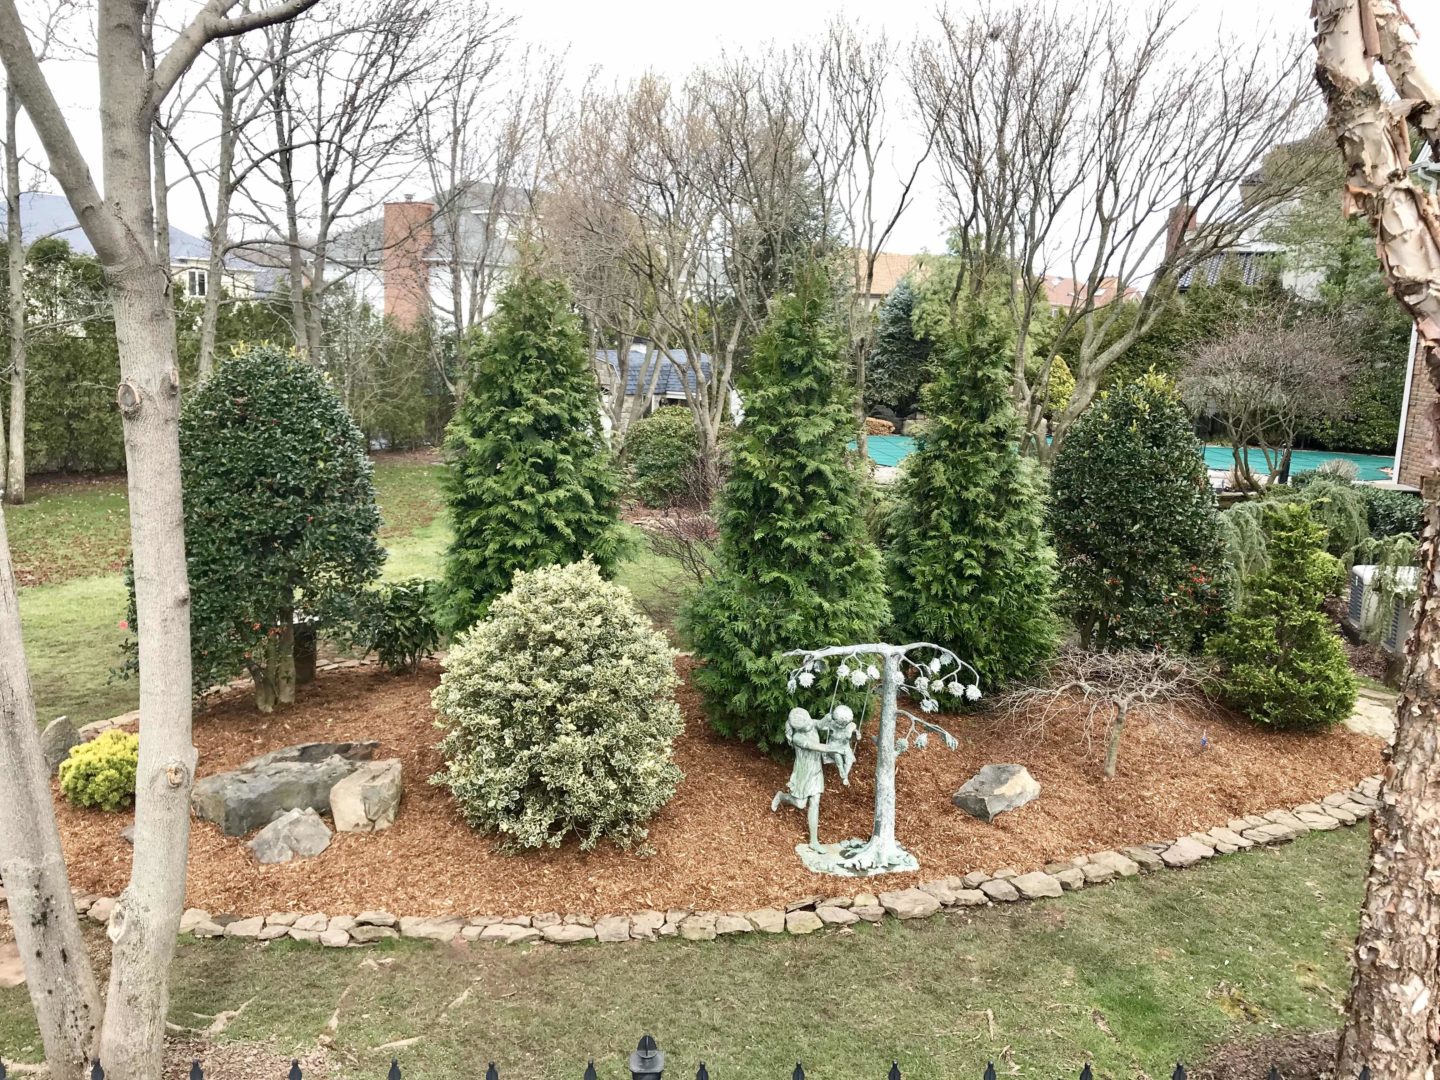
- Shape the Tree: Trim to maintain a healthy shape and structure. Focus on creating an even canopy and allowing sunlight to penetrate into the interior of the tree.
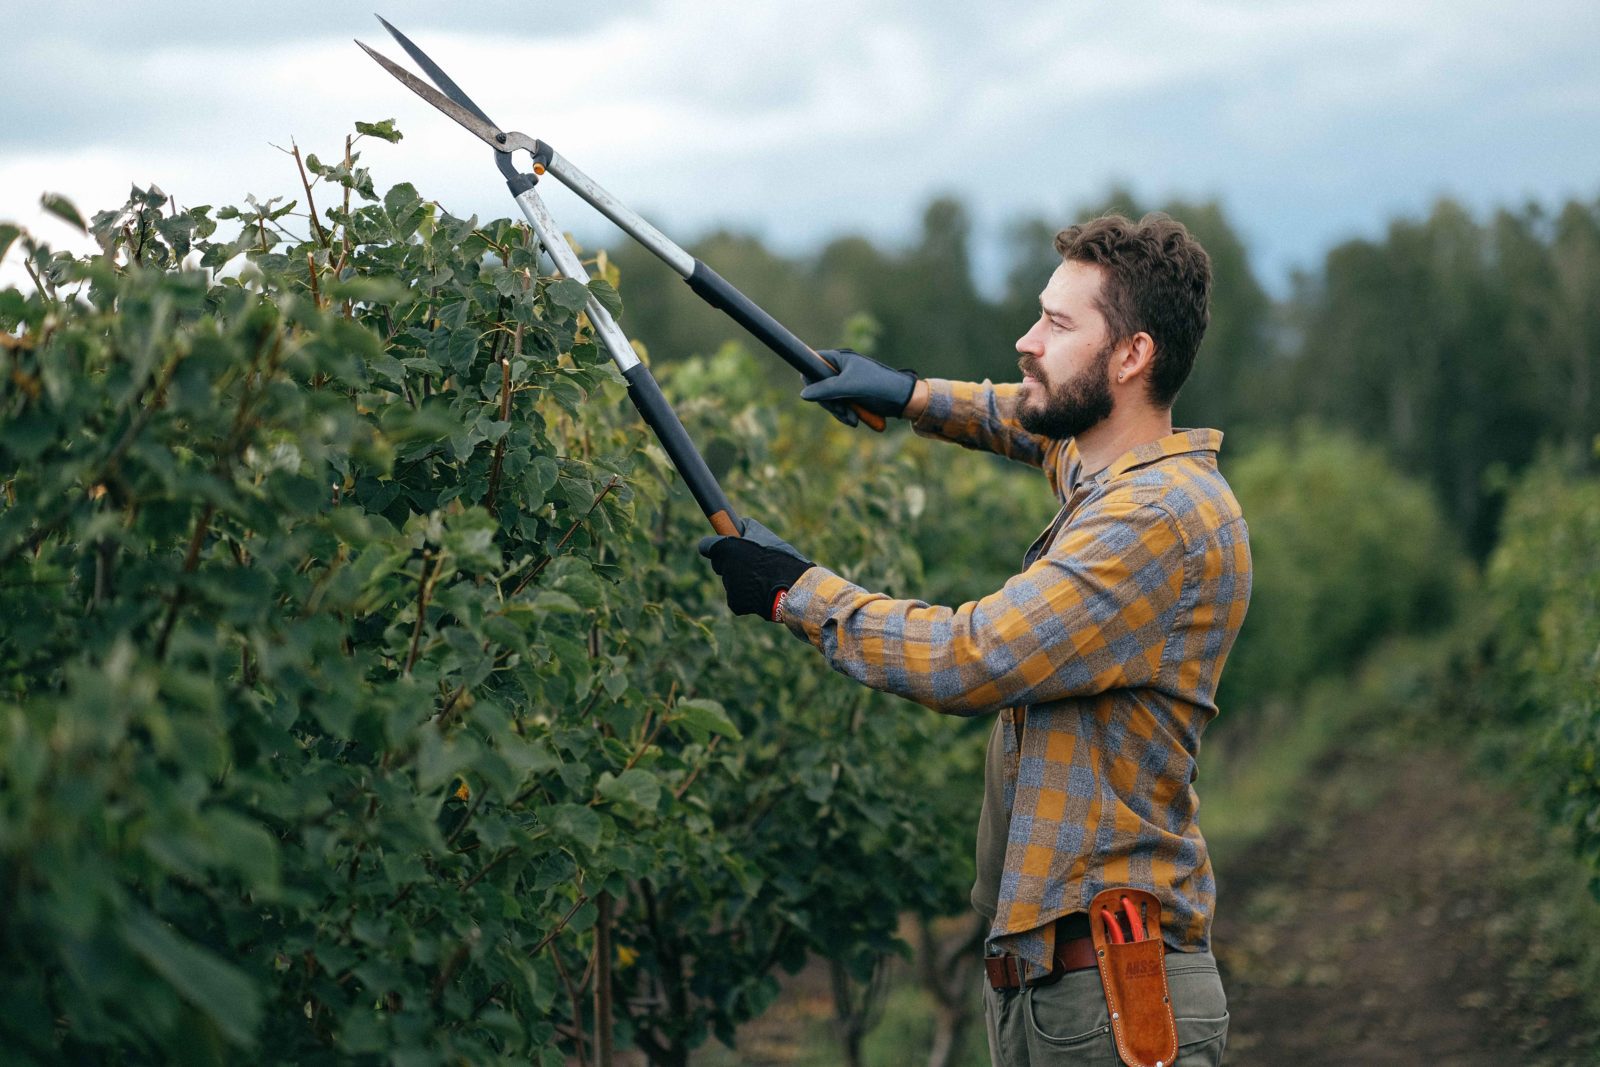
Step 3: Make the Right Cuts
To ensure healthy growth and avoid damaging the tree, make sure your cuts are clean and precise:
- Cut Just Outside the Branch Collar: The branch collar is the slightly raised area at the base of a branch where it connects to the trunk or a larger branch. This is where new tissue can grow after pruning, so you want to cut just outside the collar, avoiding cutting into it.
- Avoid Topping: Topping, or cutting off the top of the tree, is harmful and should be avoided. It can cause weak new growth and make the tree more susceptible to disease.
- Make Smooth Cuts: Make smooth, clean cuts at a slight angle to help water and debris run off the wound. Jagged cuts can lead to infections and disease.
Step 4: Remove Large Branches Safely
When cutting larger branches, use the three-cut method to avoid damaging the tree:
- Under-Cut: Start by making a small cut on the underside of the branch, about 6-12 inches from the trunk. This prevents the bark from tearing when the branch falls.
- Top-Cut: Next, make the top cut slightly further out from the under-cut. This will remove the branch from the tree.
- Final Cut: After the branch falls, make the final cut just outside the branch collar to leave a clean, healthy wound.
Step 5: Clean Up the Tree
After trimming, remove any remaining debris and branches from the tree’s base. This helps improve airflow and reduces the risk of pests and disease. If you’ve trimmed any large branches, make sure the cuts are smooth and properly sealed, although most modern trees do not require a wound dressing.
Step 6: Dispose of the Debris
Dispose of the cut branches properly. You can compost smaller twigs and branches, but larger limbs should be chipped or hauled away. Be sure to clean your tools after use to prevent the spread of disease.
Safety Tips for Trimming Trees
- Never Trim Large Trees Without Professional Help: If you need to trim large branches or work on a tall tree, it’s best to hire a certified arborist. Trimming large trees can be dangerous, and professional help ensures the work is done safely and properly.
- Use a Ladder Safely: If you need a ladder, make sure it’s stable and positioned correctly before climbing. Never reach too far from the ladder.
- Work on Dry Days: Wet, slippery conditions increase the risk of injury when pruning. Wait for a dry day to trim.
Conclusion
Trimming a tree is an essential gardening task that promotes tree health, safety, and beauty. By following the right steps and using the correct tools, you can ensure that your trees thrive for years to come. If you’re ever unsure about trimming large trees or branches, don’t hesitate to contact us for expert advice and assistance. Happy pruning!


