Ice melt is one of the most important tools for preventing slips, falls, and injuries during winter. However, using ice melt incorrectly can damage concrete, harm landscaping, and even make icy conditions worse. Knowing how to apply ice melt properly ensures safer walkways while protecting your property.
This guide explains how to properly use ice melt, when to apply it, and common mistakes to avoid.
Why Proper Ice Melt Use Matters
Ice melt helps break down ice by lowering the freezing point of water. When used correctly, it:
-
Improves traction on icy surfaces
-
Reduces slip-and-fall risks
-
Prevents ice from bonding to pavement
-
Makes snow and ice removal easier
Improper use, however, can lead to:
-
Cracked or flaking concrete
-
Dead grass and damaged plants
-
Corrosion on metal surfaces
-
Slippery residue from over application
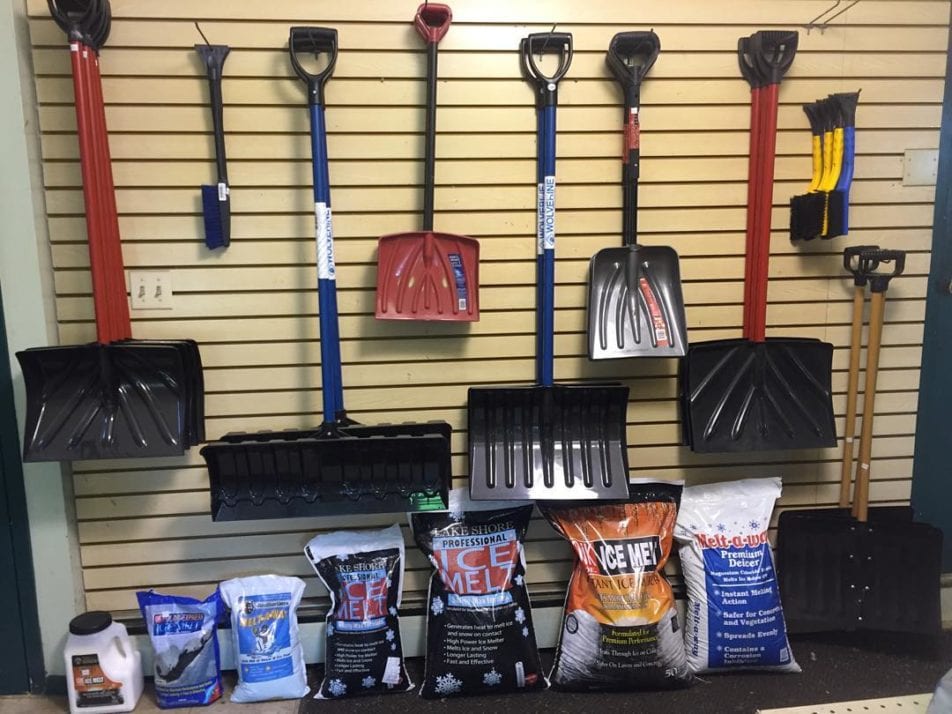
Step 1: Shovel Snow First
Before applying ice melt, remove as much snow as possible.
Why this matters:
-
Ice melt works best when it can contact ice directly
-
Excess snow dilutes ice melt effectiveness
-
You’ll use less product overall
Always shovel or plow first, then apply ice melt to remaining ice or thin layers of packed snow.
Step 2: Apply Ice Melt Sparingly
One of the biggest mistakes homeowners make is using too much ice melt.
Best practice:
-
Spread a thin, even layer
-
Focus on icy patches, not bare pavement
-
Follow the manufacturer’s recommended application rate
More ice melt does not mean faster results — excess product can refreeze into a slick surface.
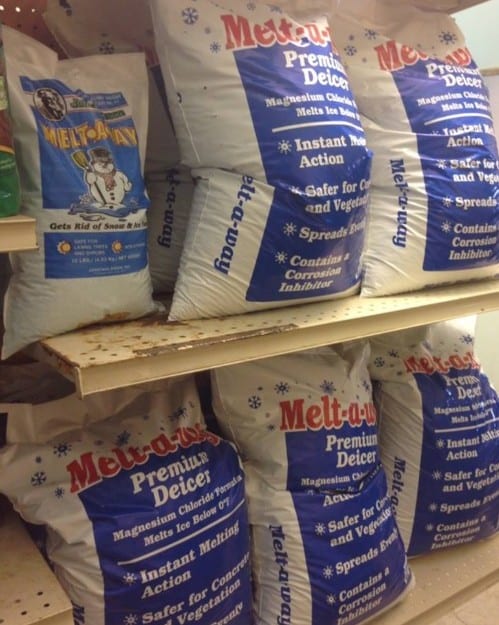
Step 3: Choose the Right Ice Melt for Your Surface
Different ice melt products are designed for different conditions.
Common ice melt types include:
-
Rock salt (sodium chloride): Affordable but harsh on concrete and plants
-
Calcium chloride: Works in very low temperatures and fast-acting
-
Magnesium chloride: Less damaging to concrete and vegetation
-
Pet-safe ice melt: Safer for animals and landscaping
For residential properties, plant- and concrete-safe products are often the best option.
Step 4: Apply Ice Melt at the Right Time
Timing is critical for effective ice control.
When to apply ice melt:
-
Before snowfall to prevent ice bonding
-
Immediately after shoveling
-
During refreezing conditions
-
After plowing leaves compacted snow or ice
Applying ice melt early reduces buildup and makes future snow removal easier.
Step 5: Watch for Refreezing
During freeze-thaw cycles, melted snow can refreeze overnight.
Tips to prevent refreezing:
-
Reapply ice melt lightly if temperatures drop
-
Pay attention to shaded and north-facing areas
-
Monitor steps, ramps, and driveway edges
Consistent monitoring keeps surfaces safe between storms.
Step 6: Protect Landscaping and Concrete
Ice melt can damage lawns, plants, and hardscaping if misused.
How to minimize damage:
-
Avoid piling excess ice melt near grass or shrubs
-
Sweep up leftover residue after ice melts
-
Use concrete-safe products on driveways and sidewalks
-
Rinse surfaces in early spring if buildup occurs
Proper cleanup helps preserve your property long-term.
Common Ice Melt Mistakes to Avoid
-
Applying ice melt on deep snow
-
Overusing product
-
Using rock salt on new or decorative concrete
-
Ignoring refreezing risks
-
Letting residue build up
Avoiding these mistakes improves safety and reduces repair costs.
How to Properly Use Ice Melt: Quick Checklist
-
Shovel first
-
Apply lightly and evenly
-
Use the right product
-
Apply at the right time
-
Monitor refreezing
-
Clean up excess material
Knowing how to properly use ice melt is essential for winter safety. With correct application, you can reduce slip hazards, protect your property, and extend the life of your concrete and landscaping.
Whether you’re a homeowner or property manager, smart ice melt use makes winter maintenance safer and more effective. Contact Us with any questions.

